


























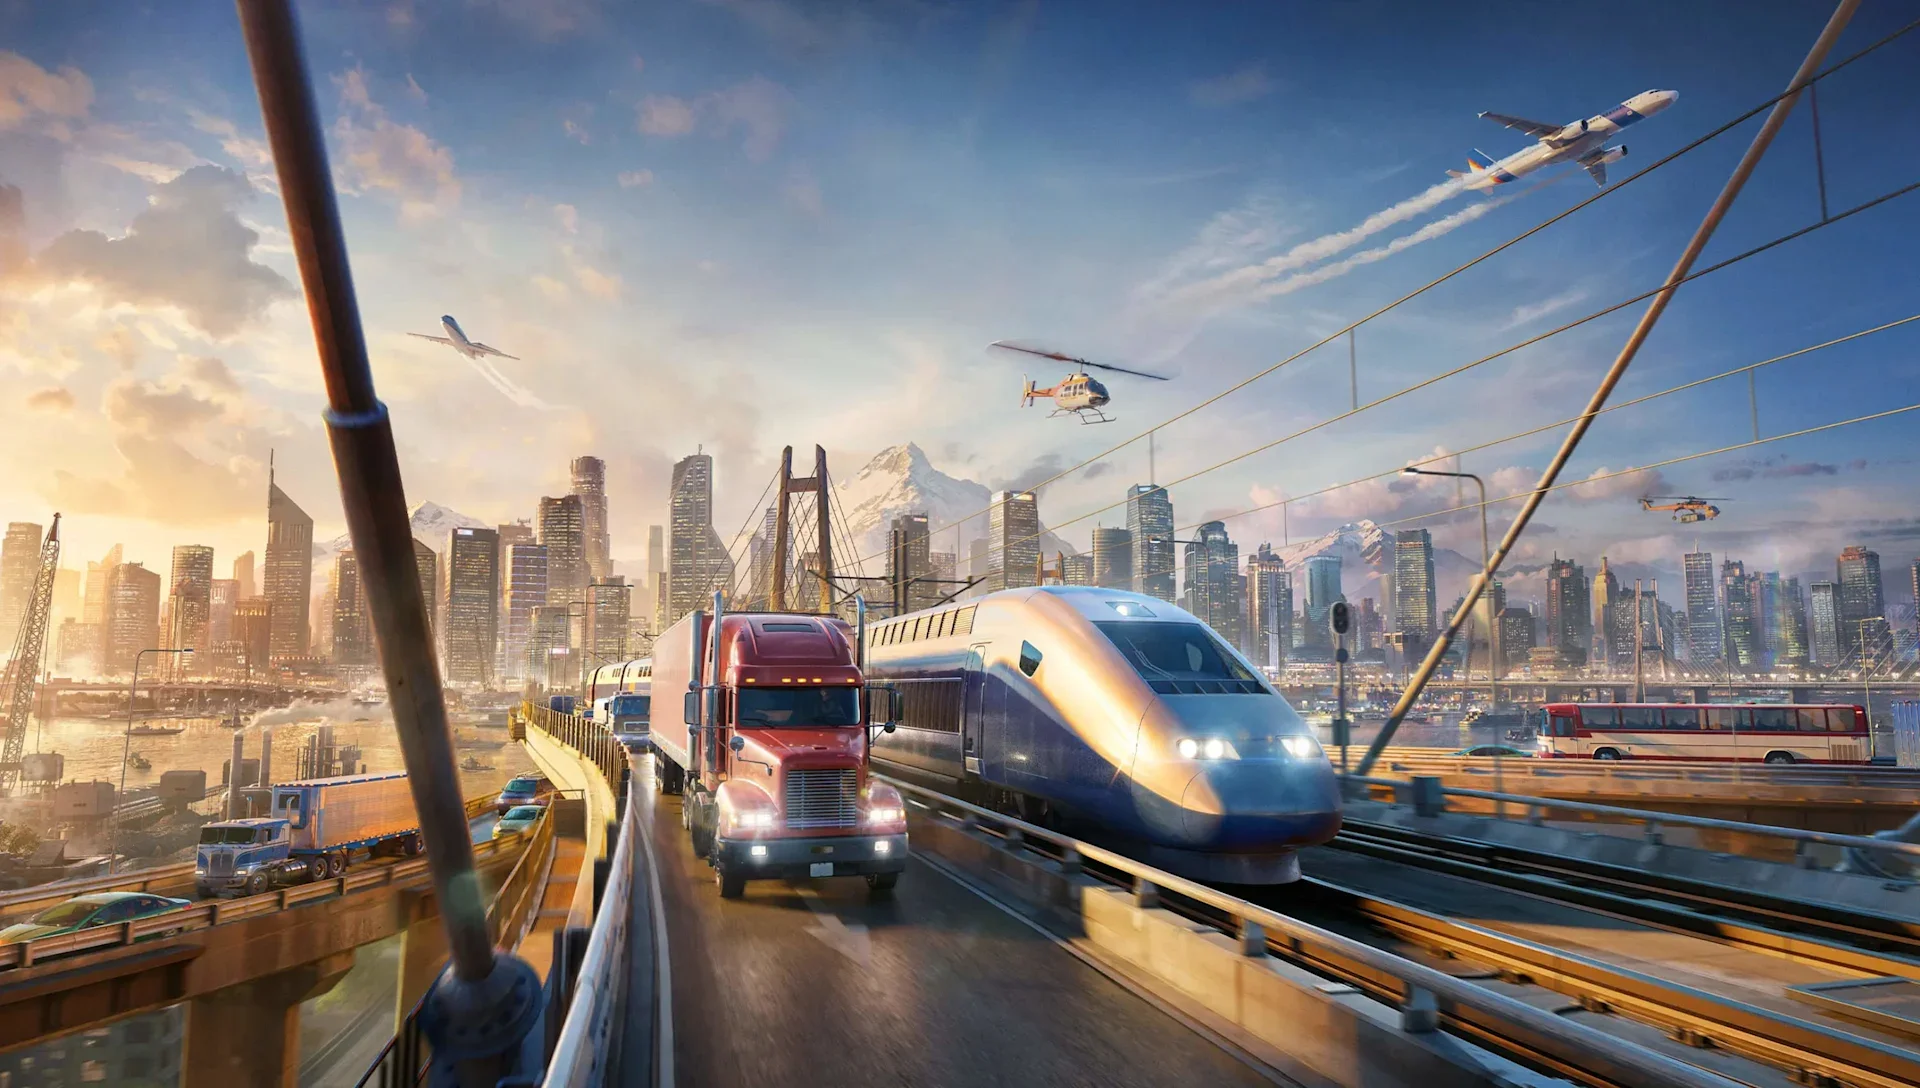

A town can receive all the fish it asks for and still struggle to grow. Deliveries that take too long count against its supply rating, so a line that looks complete on the map may be doing a poor job. Adding vehicles could shorten the wait, but those vehicles cost money to run. Rerouting may help instead, provided there is room to build. Transport Fever 3 gives you several ways to solve the problem and makes you live with the expense of your choice.
Time matters elsewhere in the network. Goods can deteriorate in transit, while passengers become less satisfied with a slow journey; both conditions reduce what a delivery earns. A specialized vehicle or warehouse can protect certain cargo and load it faster, though other goods take longer to pass through that facility. Specialization rewards a player who knows what a route is for. It becomes less attractive when the same stop must handle several kinds of traffic. These are modest decisions individually, but a growing network makes them difficult to ignore.
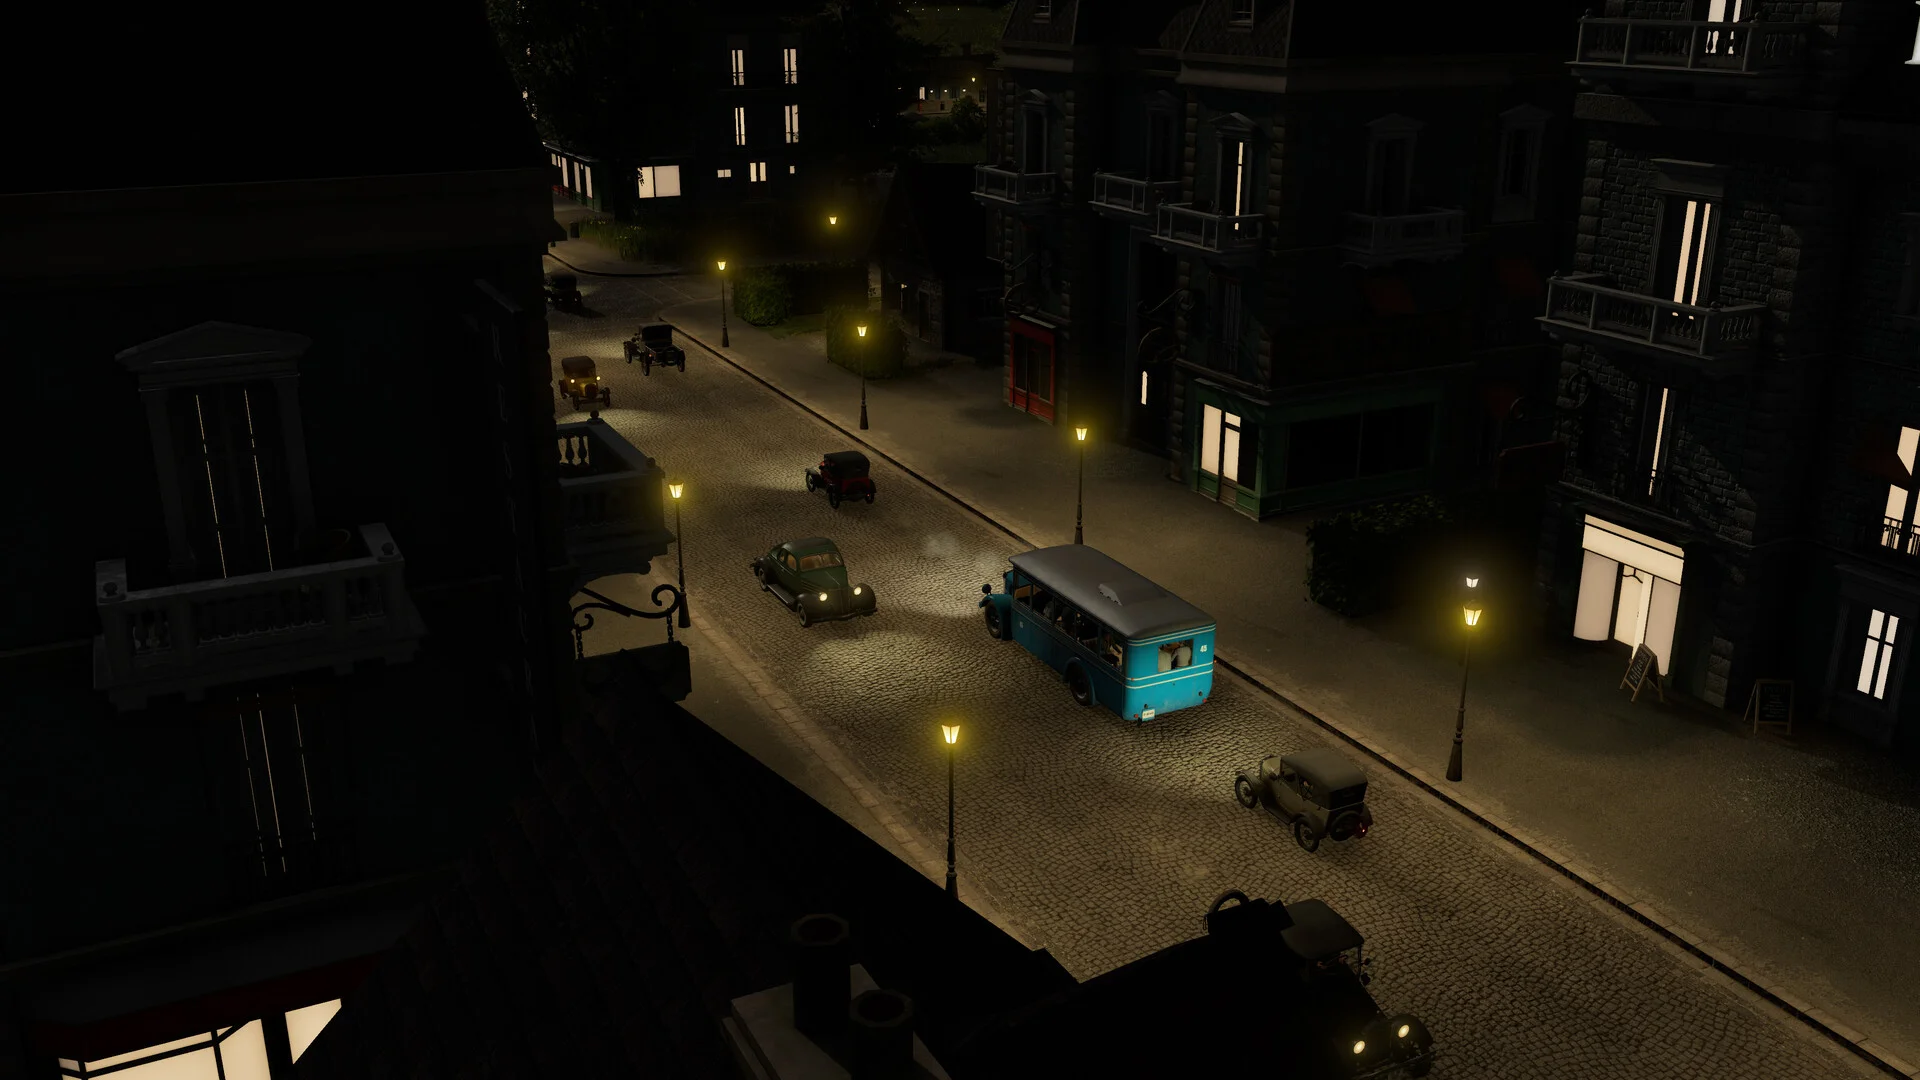
The basic undertaking remains familiar. Borrow money, connect industries and towns by road or rail, eventually extend across water and into the air, and keep revenue ahead of maintenance. Wood reaches a sawmill, planks leave for a town, and new buildings appear as the settlement expands.
That visible growth is satisfying because it changes the task. A larger town needs a better supply network, so the route that helped it grow may soon need rebuilding. The long passage from carriages and steam trains to newer vehicles gives that cycle another push.
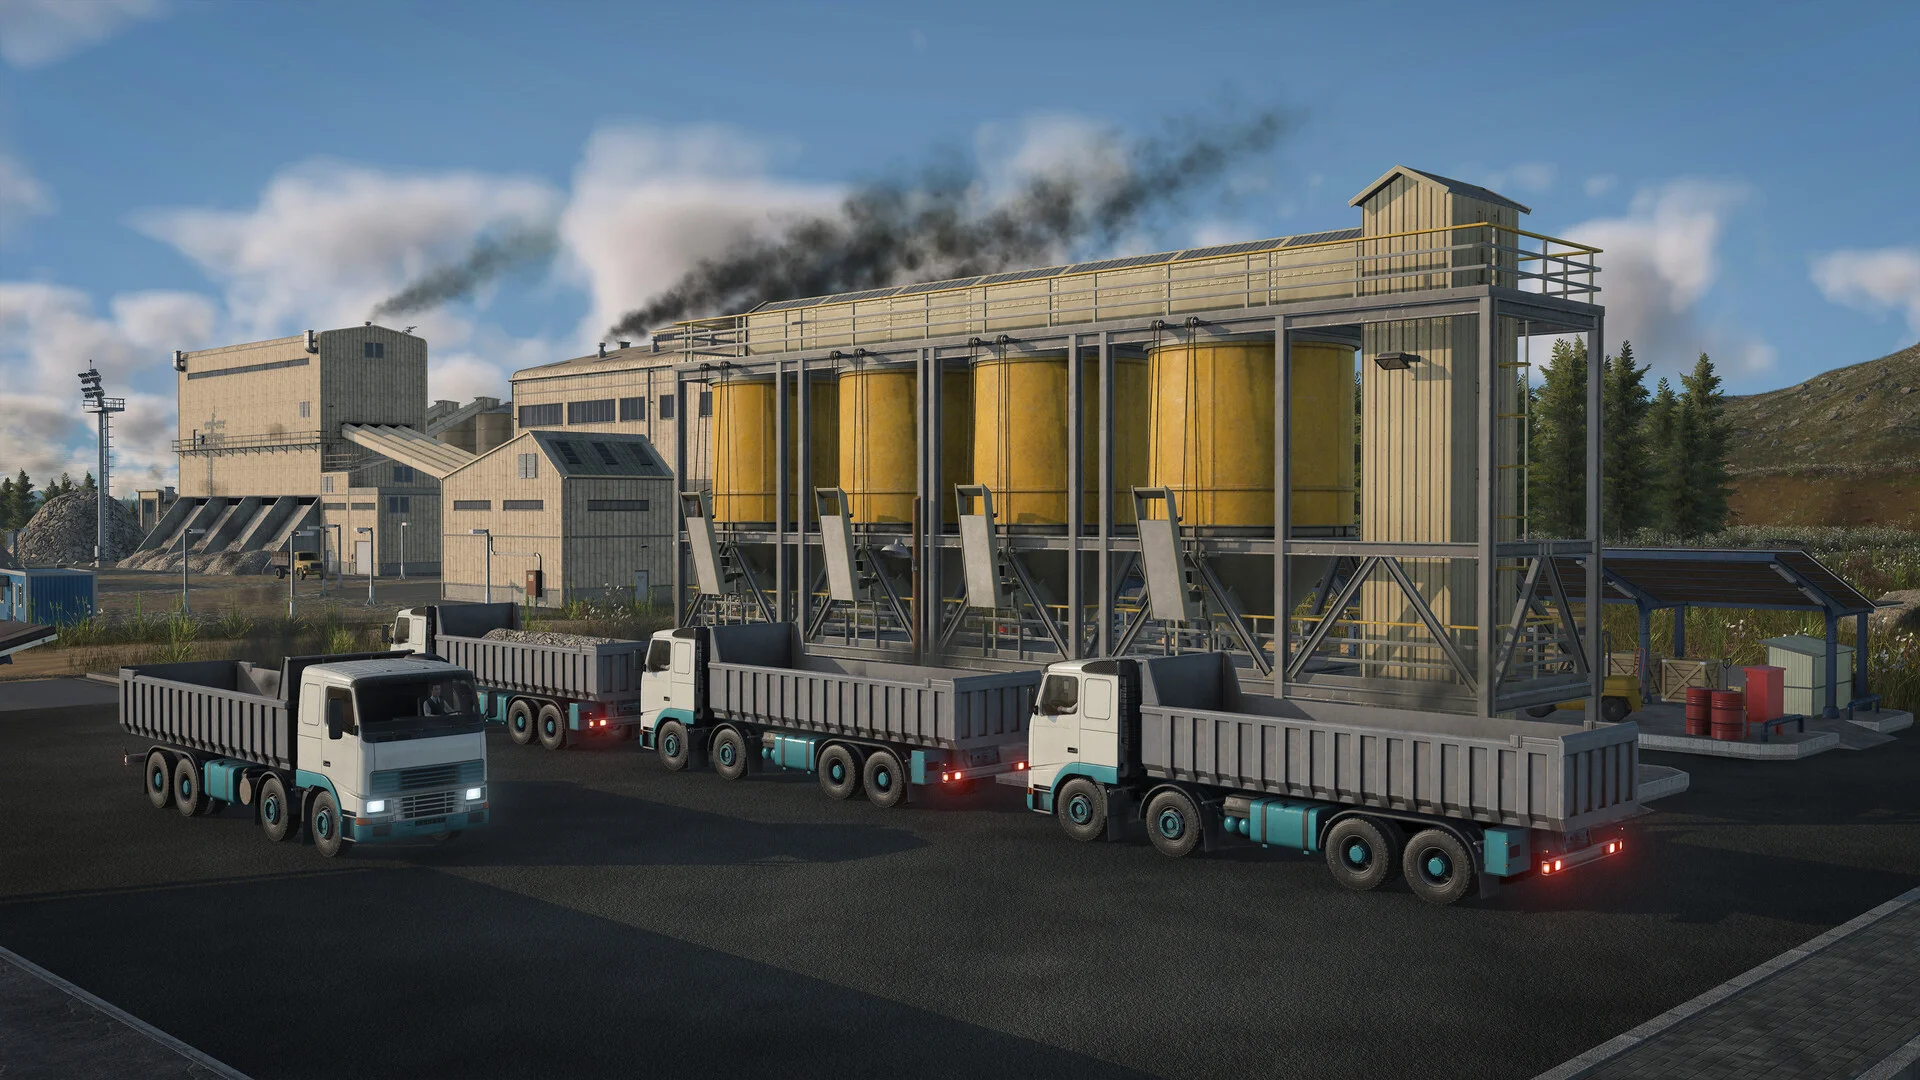
Transport Fever 3 complicates expansion in useful ways. Industries can produce more when workers or additional resources reach them, giving a passenger line a role in a freight operation. Towns also respond to traffic, noise, pollution, and the punctuality of deliveries.
A faster vehicle is therefore not an automatic improvement if its effects on the surrounding town undo some of the benefit. The strongest part of the simulation is this connection between company planning and the places the company serves: changing one line can solve a shortage while creating a different pressure nearby.
Company progression offers ways to intervene. Prospecting gives you a chance to establish an industry closer to a city, potentially replacing an awkward cross-map supply chain. Landmarks demand materials before they provide local benefits, turning a bonus into a delivery project.
Subsidies supply money or temporary advantages in exchange for completing transport goals, with a penalty for failure. Some assignments appear easy enough to soften the financial challenge, but they can also help fund a route that will take time to become profitable. Each feature is most interesting when it affects where the next line goes or how long you can afford to wait for it to pay off.
Managing those lines is easier than it was in Transport Fever 2. Creating a route and assigning vehicles now takes fewer trips through the menus, and road vehicles can collect from or deliver to some industries without a separate cargo station. Coverage circles and color coding help when the map fills with overlapping services. These improvements matter well beyond convenience. If the game expects frequent adjustments to timing and capacity, players need a clear way to find and change the responsible line.
Construction does not always cooperate. Cargo stations can snap so close to a road that adding an entrance becomes difficult, while harbor changes may require rebuilding docks and resetting routes. Rail construction can also be awkward when a planned connection crosses water. Such obstacles create a different kind of difficulty from balancing a budget or improving delivery times. The player has already made the logistical decision and must then wrestle with getting the pieces into place.
The eight-mission campaign provides a guided route into all this. Its early work teaches tasks such as laying roads, building a tunnel, moving stone, and setting up trains; later missions take the player through different eras and locations.
The restrictions help explain systems that can initially feel overwhelming in free play, though they can make small mistakes expensive. In one reported mission, choosing the wrong train modification left its objective impossible to complete without reloading. Free play gives the design room to breathe: map settings and starting conditions can be adjusted, and the player decides which problem deserves attention next.
The largest concern in the supplied press beta accounts is technical reliability. On one tested PC, the usual isometric view held at a capped 60 FPS, but zooming in brought it near 30, and building a long route could become far slower. The same account describes freezes lasting 10 to 20 seconds, repeated crashes, and lost saved progress; another reports long loading times and intermittent frame drops.
These observations come from builds played before release, so they do not establish how every system or the launch version will perform. They do show how costly instability can be for this particular game. When an evening’s work has gone into untangling routes and preparing a town for its next stage of growth, losing the save also means losing the decisions that got it there.
The Review
Transport Fever 3
Transport Fever 3 makes a growing town feel like the product of dozens of connected decisions. Delivery times, cargo handling, industry needs, and pollution give players good reasons to rethink routes, while the improved interface makes that work easier. Awkward construction still gets in the way. More seriously, the press beta reports of freezes, crashes, and lost saves make a strong simulation difficult to trust over a long session.
PROS
- Interlocking logistics and town growth
- Meaningful choices about speed, cargo, and specialization
- Easier route and vehicle management
- Flexible free play
CONS
- Awkward station and route construction
- Restrictive campaign objectives can punish mistakes
- Serious performance and save issues reported in the press beta