


























Getting knocked out of a Shell still creates the sharpest panic in Mortal Shell II. One second you are controlling a heavily armored warrior with a respectable health bar, and the next the Harbinger is standing exposed in its thin, sinewy body while the enemy that killed you is already winding up again. Reach the corpse and you get another chance. Fail, and the Beacon becomes home.
Cold Symmetry keeps that defining mechanic from the 2020 original, then builds almost every other system around giving it greater purpose. The first Mortal Shell had a smart central idea trapped inside a relatively small adventure. Its sequel turns Fallgrim into a sprawling action RPG filled with eight Shells, an expanded weapon roster, ranged sidearms, Tarstones, optional dungeons, character memories, and several overlapping progression currencies. Bigger can easily become busier. Here, much of the added complexity gives the original concept room to breathe.
The Harbinger has emerged from one of the Undermether’s surviving ova after the alien being crashed into Fallgrim. Her body became sacred architecture, then raw material. Temples were carved from her remains, while thieves stole ova from her womb. Hunting those thieves through six Corrupted Gates gives the campaign a clear objective, even if the wider mythology remains deliberately opaque. The story gains much of its personality from the warriors you possess rather than the cosmic plot surrounding them.
Eight Corpses, Eight Combat Problems
Shells used to feel differentiated mainly through statistics and passive perks. Mortal Shell II makes them play differently the moment you inhabit them. Tiel can vanish for a short period, move past enemies, then reappear with Shadow Stab.
Eredrim can shoulder-charge a target to hammer its stagger meter or use a wider attack when surrounded. Proxima has a grapple that drags smaller enemies toward her and pulls her toward larger ones while applying electrical damage. Upgrades can make repeated grapples permanently increase her effectiveness against that enemy type.
Those active abilities alter tactical decisions in ways extra health or damage never could. A crowded room means Eredrim has an immediate answer. A dangerous enemy guarding a narrow route gives Tiel an opportunity to bypass the encounter or turn stealth into an opening strike. Proxima can break the usual spacing rules by deciding when the distance between her and an enemy disappears.
Each Shell also receives its own skill tree, elemental resistance, and unlockable memories. Raising affinity with them reveals playable fragments of their former lives, including one surreal sequence involving a giant bottle connected to alcoholism. These episodes give people to what might otherwise become eight loadouts wearing different faces.
Cold Symmetry wisely lets Shell upgrades be refunded and redistributed without cost. That matters because the sequel regularly presents situations that encourage switching. Facing an enemy built around fire damage gives a fire-resistant Shell an obvious advantage. A player struggling against groups can move investment toward a character with stronger crowd control rather than spending another hour grinding.
Some abilities are less dependable than the upgrade system supporting them. Tiel’s Shadow Stab can fail to connect when it needs to travel toward a target, while lock-on and stick-click actions occasionally feel unreliable. The ideas are stronger than their targeting.
Combat itself has changed even further. Stamina no longer limits normal attacking, sprinting, or dodging, freeing the player from the stop-start rhythm that made the original feel heavier than it needed to. Resolve replaces that restriction with a much better incentive.
Landing melee attacks fills Resolve. Shooting sidearms, triggering Shell abilities, and activating several Tarstones spends it. The resource loop encourages aggression because the interesting tools are funded by staying close enough to keep hitting something. That relationship gives the combat system a clear economy: melee generates possibilities.
Harden, Resolve, and the Build Machine
Weapons support that aggression with light and heavy strings that can be mixed within combos. A heavy attack usually delivers better damage or interruption but comes with a longer windup, so the interesting choice is where to insert one into a three-hit sequence without giving an enemy time to cave your ribs in.
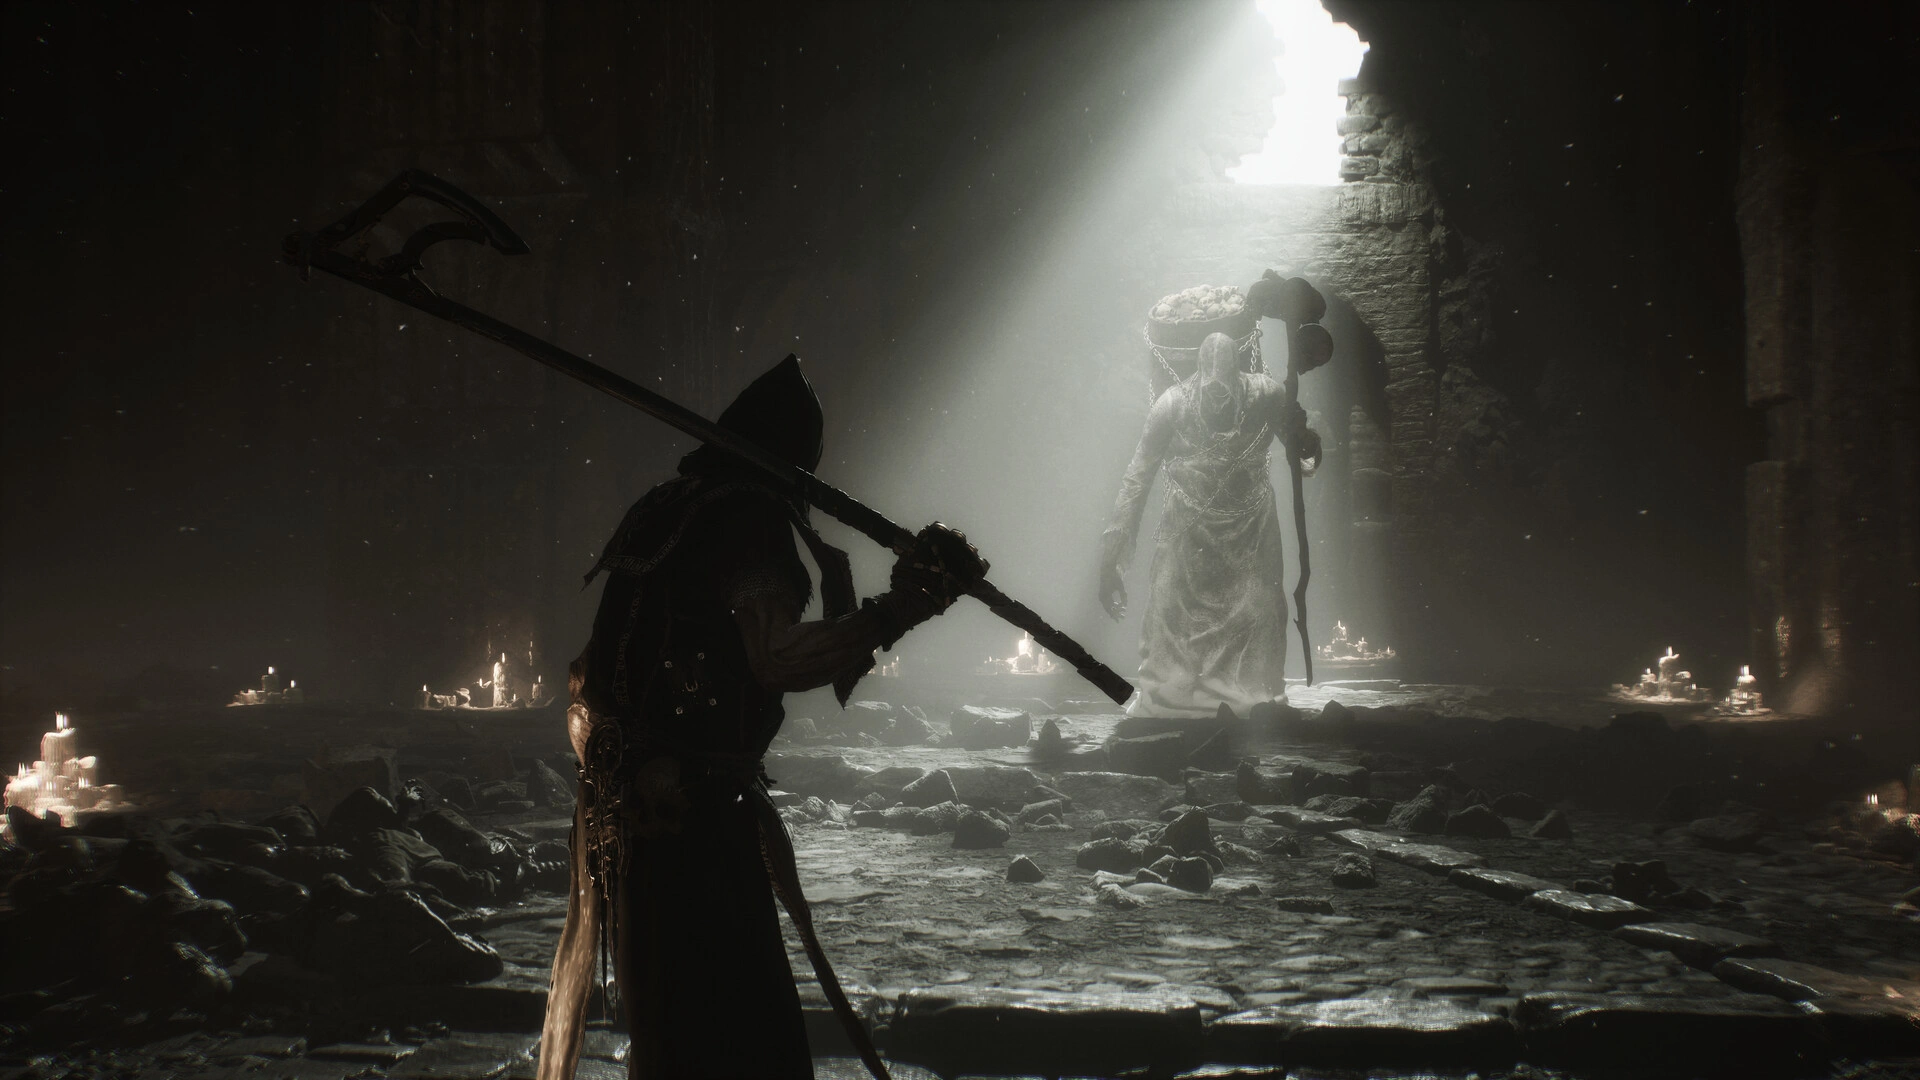
Harden remains the mechanic that separates Mortal Shell from the Soulslikes surrounding it. Activating it turns the Shell to stone and absorbs one incoming attack. The useful trick is that Harden preserves your current animation. Start swinging, petrify when the enemy counterattacks, absorb the blow, then finish your own attack when the effect ends. It allows defense and offense to occupy the same action sequence.
Alternative Seals introduce conventional blocking and parry-focused options, yet Harden still provides the cleanest expression of the game’s combat philosophy. Perfect defensive timing can stagger enemies and create riposte opportunities, but the player is rarely forced into one rigid style.
The arsenal has expanded to eight melee weapons and eight sidearms. Greatswords, scythes, pikes, double-headed axes, the returning hammer and chisel, and other melee options cover different combinations of speed, reach, stagger, and status buildup. Heavy weapons interrupt reliably but need patience. Faster ones can stack effects quickly while struggling to stop an incoming attack. The sidearms are where Cold Symmetry gets weird.
A multi-shot crossbow can thin weak enemies before they close the distance. The Ballistazooka returns for uncomplicated destruction. A magical lute can confuse opponents. One weapon is a child’s skeleton trapped in a cage. Another resembles an alien creature strapped into a brace and fires like an automatic weapon.
Tarstones then modify the equipment underneath all this. Ten available slots can raise attack speed, increase damage reduction, improve critical output, add elemental effects, enhance stagger, or grant active techniques. One build might reward repeated hits with faster attacks.
Another can increase melee damage when health falls. Some Tarstones add sword spins or wide projectile attacks. Restrictions keep these choices connected to equipment. Certain Tarstones only work with certain weapons, which means finding a powerful stone can make an otherwise ignored weapon suddenly relevant.
Specific Shell and weapon combinations create stronger synergies. Proxima’s passive durability helps compensate for a minigun that leaves her stationary while firing. A Shell that restores healing resources after kills can make an aggressive axe safer to use despite its weak ability to stagger enemies. The system is flexible enough that almost any pairing can function. It is also flexible enough to hurt itself.
One Tarstone grants an airborne plunge that deals large damage. Upgrades add stagger damage and eventually an area effect, while the player remains safe during the airborne portion. A tool like that can flatten boss design because its risk never rises with its reward.
Respeccing weapons introduces another restriction. Upgrade materials are returned, but spent gold is gone. Finding an interesting weapon late in the campaign therefore comes with an economic question: is experimenting with it worth losing the investment if the moveset disappoints?
Tarstone upgrades create similar friction by requiring a high-level resource obtained through improving other Tarstones, including ones you may never want to equip. A progression system built around experimentation should not make unwanted experimentation part of its tax structure.
Fallgrim Rewards Getting Distracted
The first game’s Fallgrim acted as a hub feeding several major paths. The sequel stretches that structure across a much larger land of bleached mountains, corrupted forests, ruined settlements, caves, cliffs, and half-decayed kingdoms.
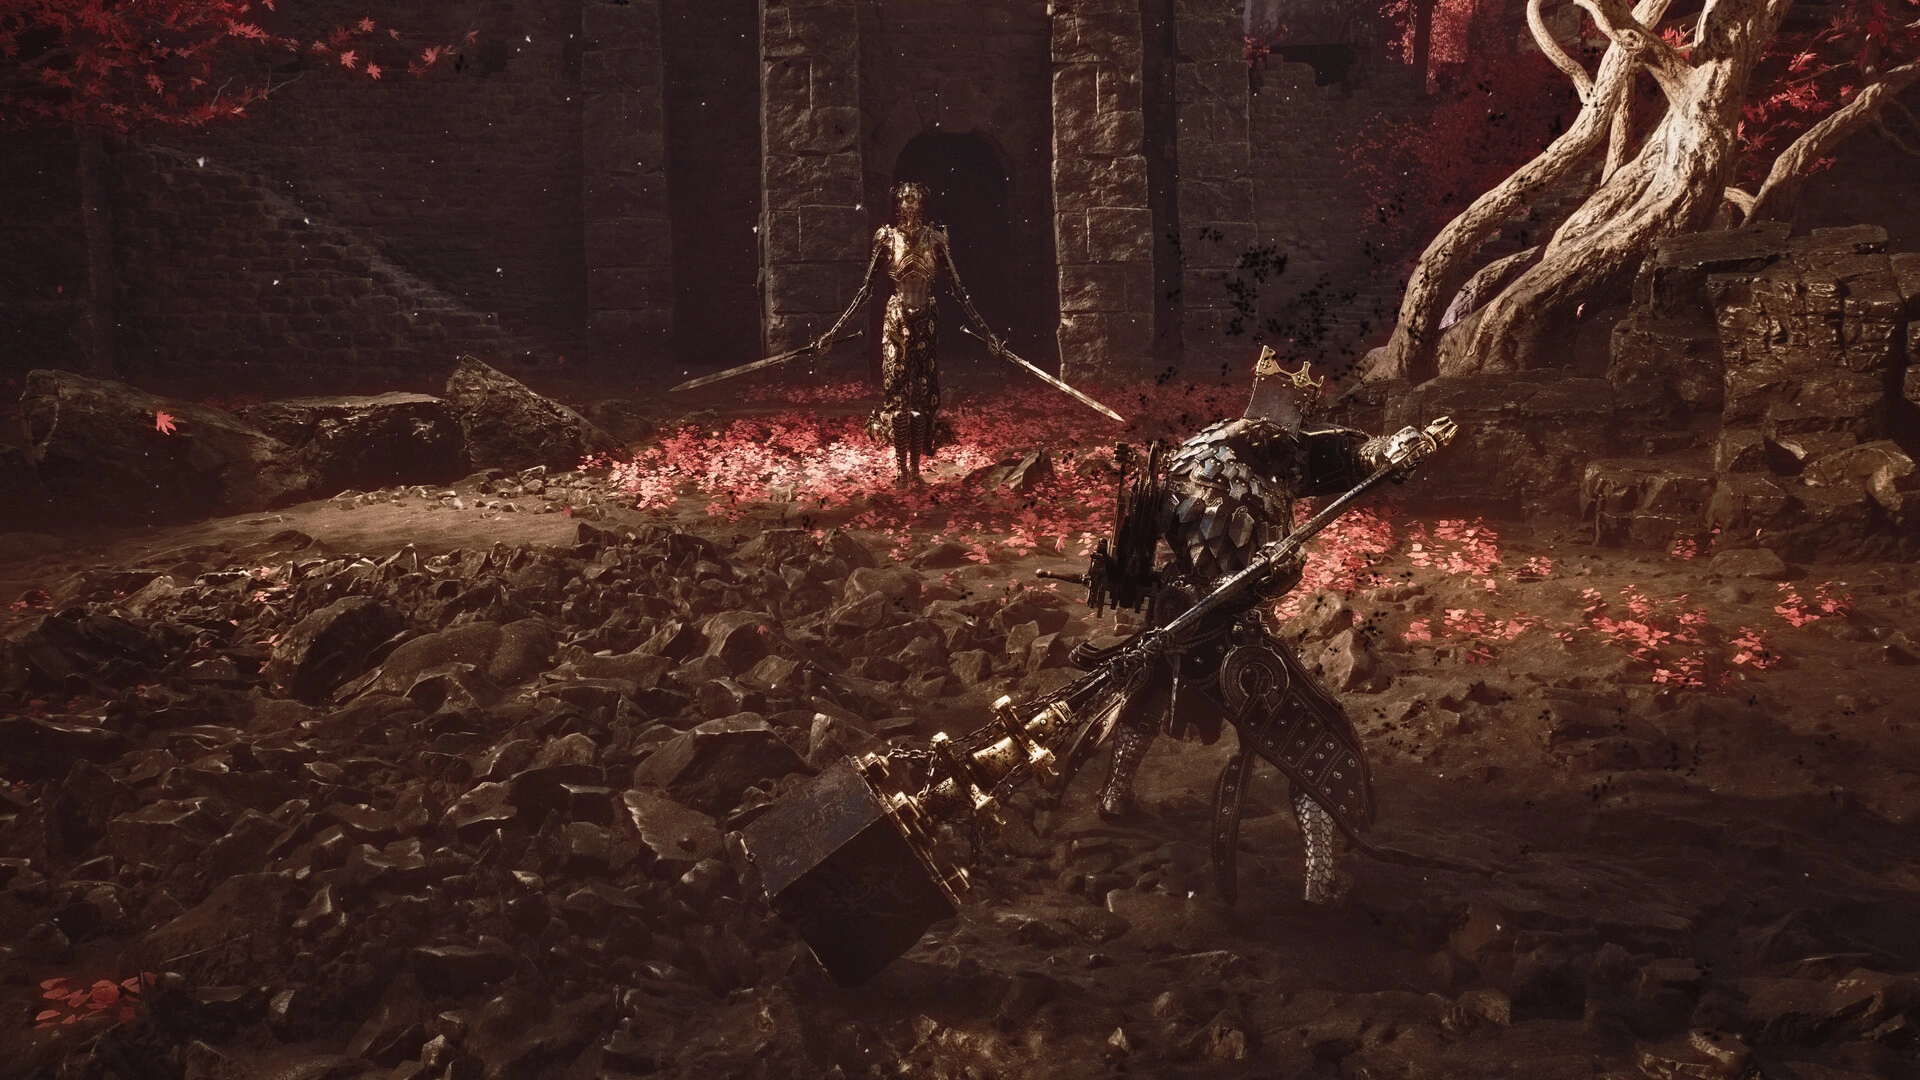
Six gates around the world lead toward the stolen ova, but moving directly between them means ignoring much of what makes the map work. Mist-covered entrances hide compact dungeons with self-contained ideas. One asks you to avoid the searching light of a lighthouse. Another reverses movement inputs. One requires walking backward through walls to reach new spaces.
Other dungeons are simpler mines, tunnels, puzzles, or combat arenas. Corrupted statues lock the player into wave fights for rewards. Beacons act as checkpoints and fast-travel points, yet many need to be entered and cleansed before becoming usable.
Exploration has tangible mechanical value because the world contains Shells, weapons, Tarstones, upgrade materials, and permanent items rather than piles of disposable filler. False walls and switchbacks regularly lead to something that can modify a build.
The map helps, though its limited marking tools become a problem precisely because Fallgrim is so good at distraction. You spot a cave while heading toward a weapon, find another route inside it, notice a structure beyond that, and eventually forget the original point you intended to revisit. Early navigation can also become confusing because several areas share similar textures and shapes before their major landmarks become familiar.
Beacon spacing creates harsher problems. Some stretches pack numerous enemies, traps, cliffs, and ambushes between safe points. During the early hours, sprinting past everything to activate a Beacon and then working backward can be safer than fighting through the intended route.
That undercuts a combat system designed around generating Resolve through aggression. Repetition becomes clearer later. Former minibosses start appearing as standard foes, familiar enemy behaviors return under different bodies, and the last Corrupted Gates rely on increasingly familiar structures.
Something Awful Around Every Corner
Cold Symmetry’s best work happens when those repeated structures contain something visually revolting. Fallgrim is full of enemies that seem assembled from whatever parts should never have been placed together. Spiders have human faces.
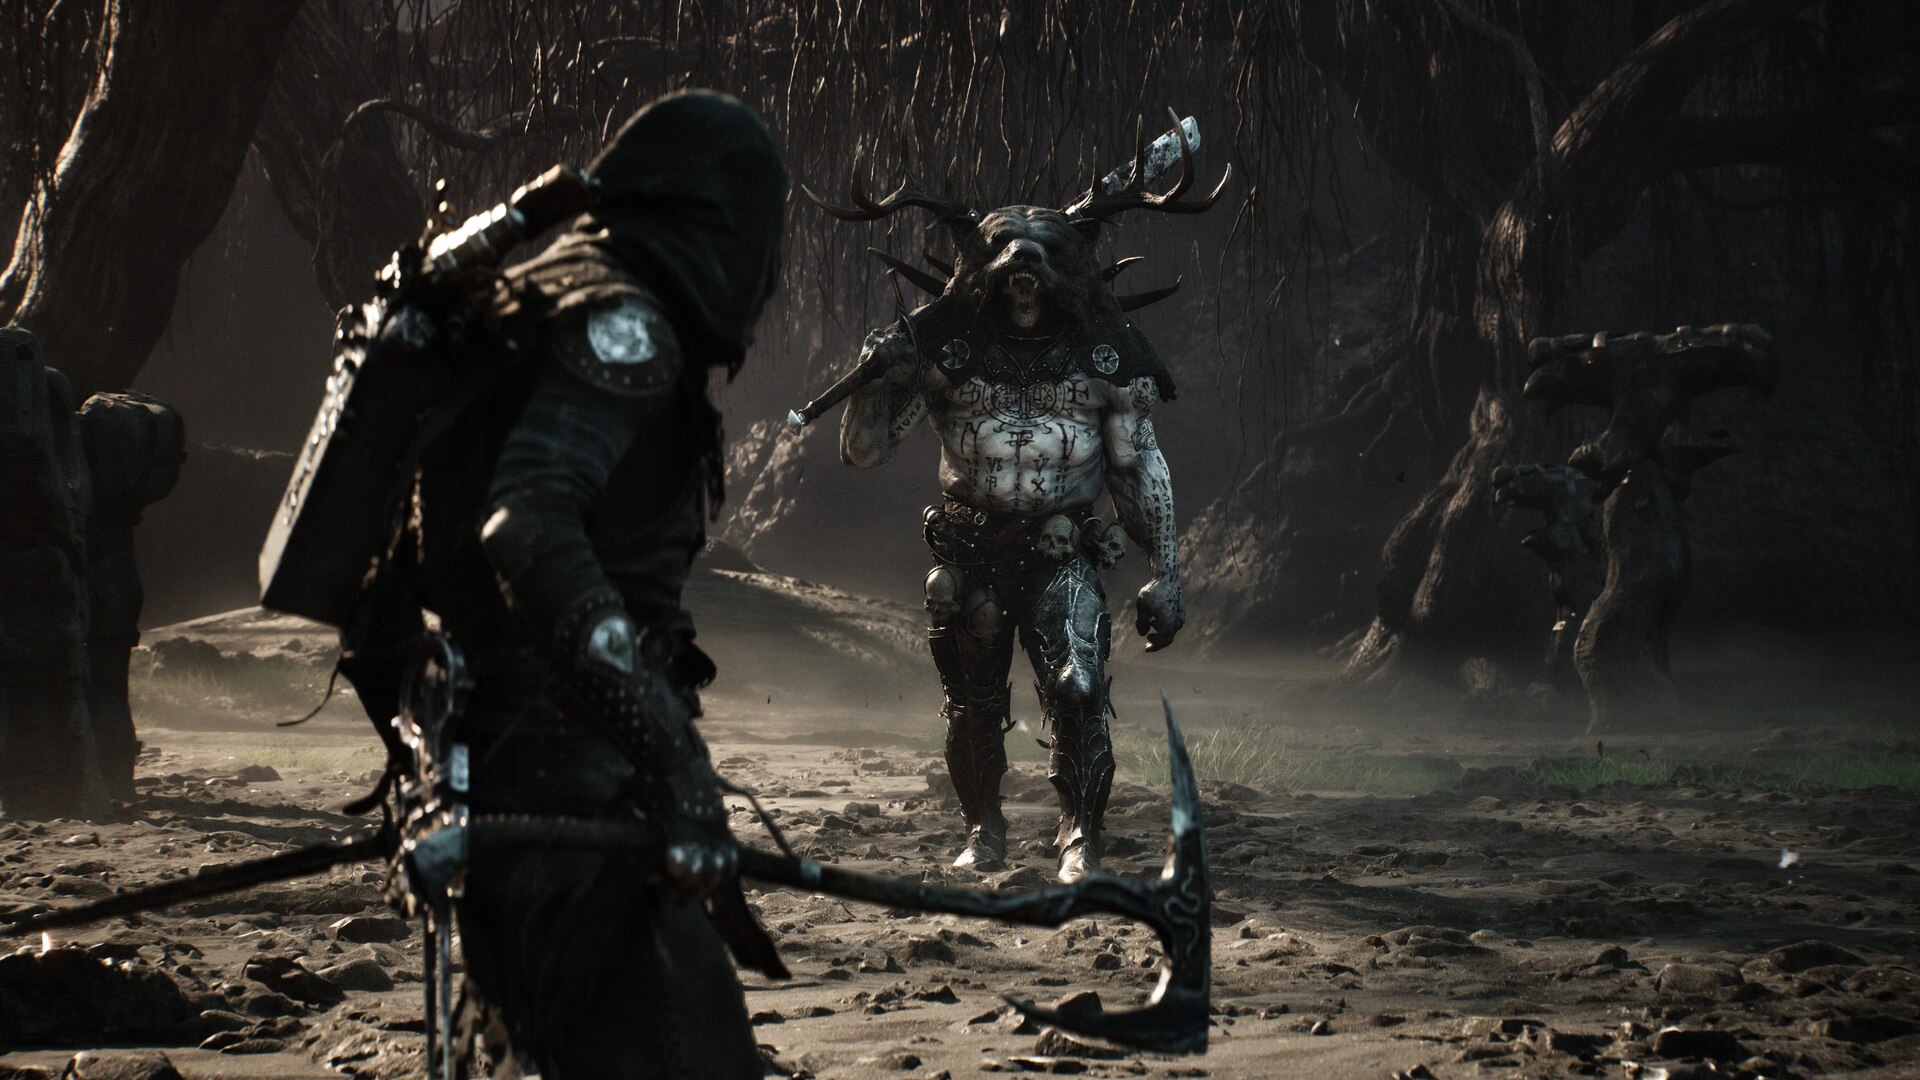
Dog-sized creatures resemble bearded skulls given bodies. Giant snails sit inside bells. Faces sprout legs. Living stones resemble oversized headcrabs, while exploding bats, stretched humanoids, cultists, and armored knights fill out the less absurd end of the population.
Bosses carry the same confidence. A moth-like knight, an invisible vampire warrior, and a bog witch attacking from a fiery wheelchair-like machine turn individual fights into grotesque set pieces before their mechanics even enter the equation.
The closer camera helps sell their scale and makes melee strikes feel heavier, but it occasionally sacrifices information for spectacle. Getting pressed against a wall while locked on can leave the camera staring somewhere useless. Red indicators warn about enemies attacking outside the frame, which solves the information problem by adding another interface problem.
Balance is the larger concern. By the final stretch, a carefully optimized Shell, weapon, and Tarstone setup can outgrow bosses that were meant to test it. Some regular enemies compensate by absorbing excessive damage, while certain bosses lean too heavily on unblockable attacks instead of forcing players to reconsider positioning, timing, or resource use.
The sequel’s strongest encounters work differently. They make you inspect the systems you have assembled, identify which part solves the immediate problem, then decide how much of your build you are willing to change to exploit it. Mortal Shell II gives the player eight stolen bodies, an arsenal of cursed equipment, and enough mechanical freedom to make inhabiting each corpse feel like choosing a different answer.
The Review
Mortal Shell II
Mortal Shell II gives Cold Symmetry’s original body-swapping idea the systems it always deserved. Shell abilities now change how fights unfold, Resolve keeps aggression feeding every ranged and special option, while Tarstones make weapon choice matter far beyond damage numbers. Fallgrim rewards curiosity with strange dungeons and grotesque discoveries, though camera problems, uneven late-game scaling, and upgrade friction occasionally work against that freedom. The sequel’s biggest success is mechanical: inhabiting a new corpse can genuinely alter how you solve the next fight.
PROS
- Distinct, meaningful Shell abilities
- Flexible weapon and Tarstone builds
- Excellent Resolve-driven combat loop
- Dense, rewarding exploration
- Outstanding creature design
CONS
- Late-game balance weakens bosses
- Camera struggles in tight spaces
- Costly weapon experimentation
- Some repetitive enemy encounters