


























Wardrum’s caster can reach the enemy healer from a square she’d be better off avoiding. Before a battle, you can inspect enemy movement and attack ranges and deploy your four fighters within a marked area. By the time you move the caster up, you know what you’re exposing her to. A grenade and her fireballs leave two enemies weakened, and the heavy hitters move in to finish them. You’ve spent most of the turn setting up two attacks that should make the caster’s position safe enough.
The first attack kills an alpha dog. A missed input on the second leaves an enemy standing when its side gets to act. The price of that miss depends on everything you’ve already done. From a safe position, weaker damage might cost you a turn. Here it gives an enemy another chance to act near the caster who already did her part. If you save an unfamiliar sequence for your last action, you leave the whole squad with whatever result your fingers can supply.
Attacks and abilities give you a pattern of taps and holds, then grade your execution from Miss to Perfect. The archer’s animation teaches the sequence particularly well. A tap nocks the arrow, a hold draws the string, and another tap lets it go. The moving input guide shows you when to press. The animation gives you a way to remember why the hold is there. A perfect sequence can turn a hit into a critical, so a pattern that feels awkward at first can become something you’re willing to build a turn around.
Yelder Strongwrist’s Heartbeat gives that confidence a different use. It heals one ally twice and then leaves a regeneration field that heals nearby allies at the end of turns. Pick the fighter who needs the immediate help, then look at who can stay close enough to benefit from the field. A fighter who moves out of range to pursue a kill gives up that recovery. The warband is fighting a corruption called off-beat magic, and its drummer makes keeping the group in time a matter of where each person can afford to stand.
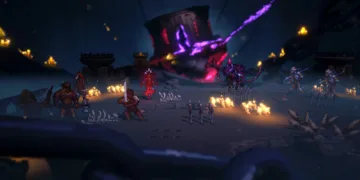
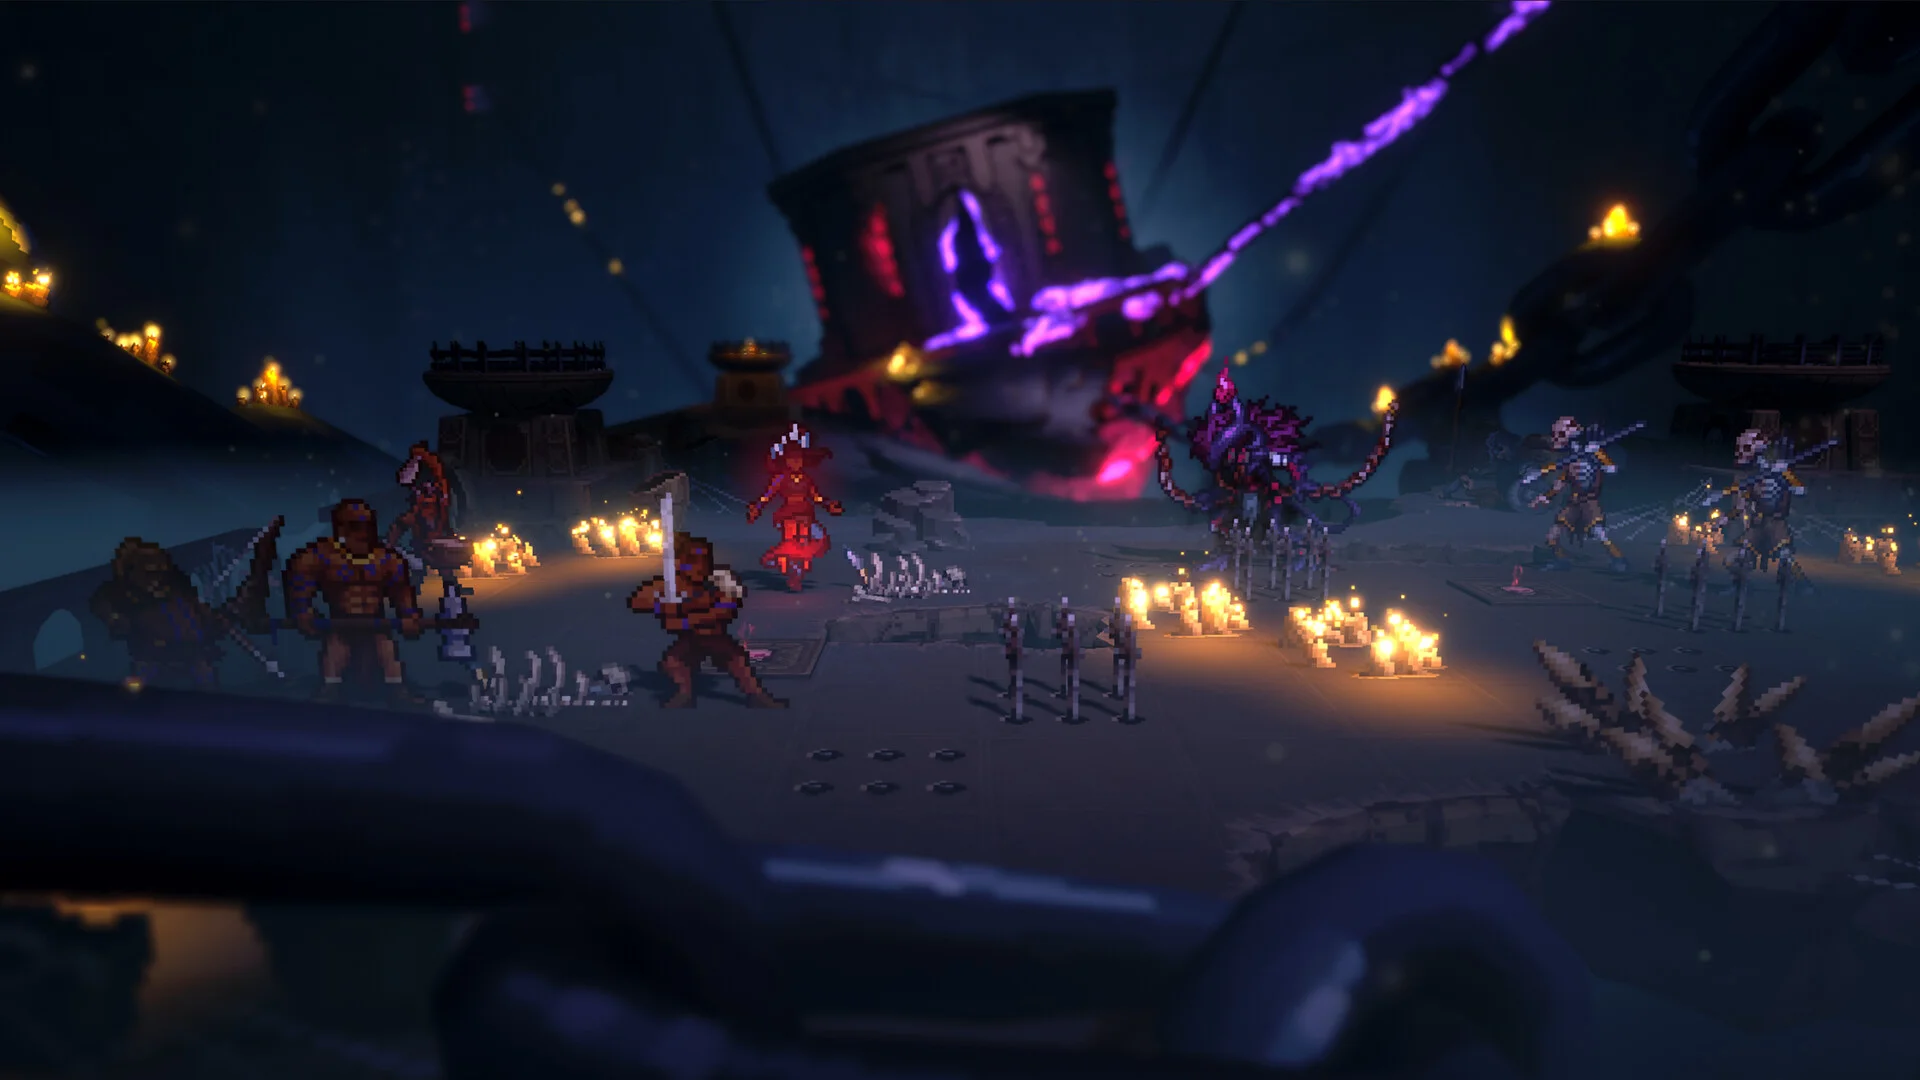
Night battles can make you reconsider a square for a different reason. Some of them warn you a turn before new enemies appear. Moving away from their spawn points can leave the newcomers to pick a fight with enemies already on the board. A good move there can save you the attacks you would have spent on those enemies yourself.
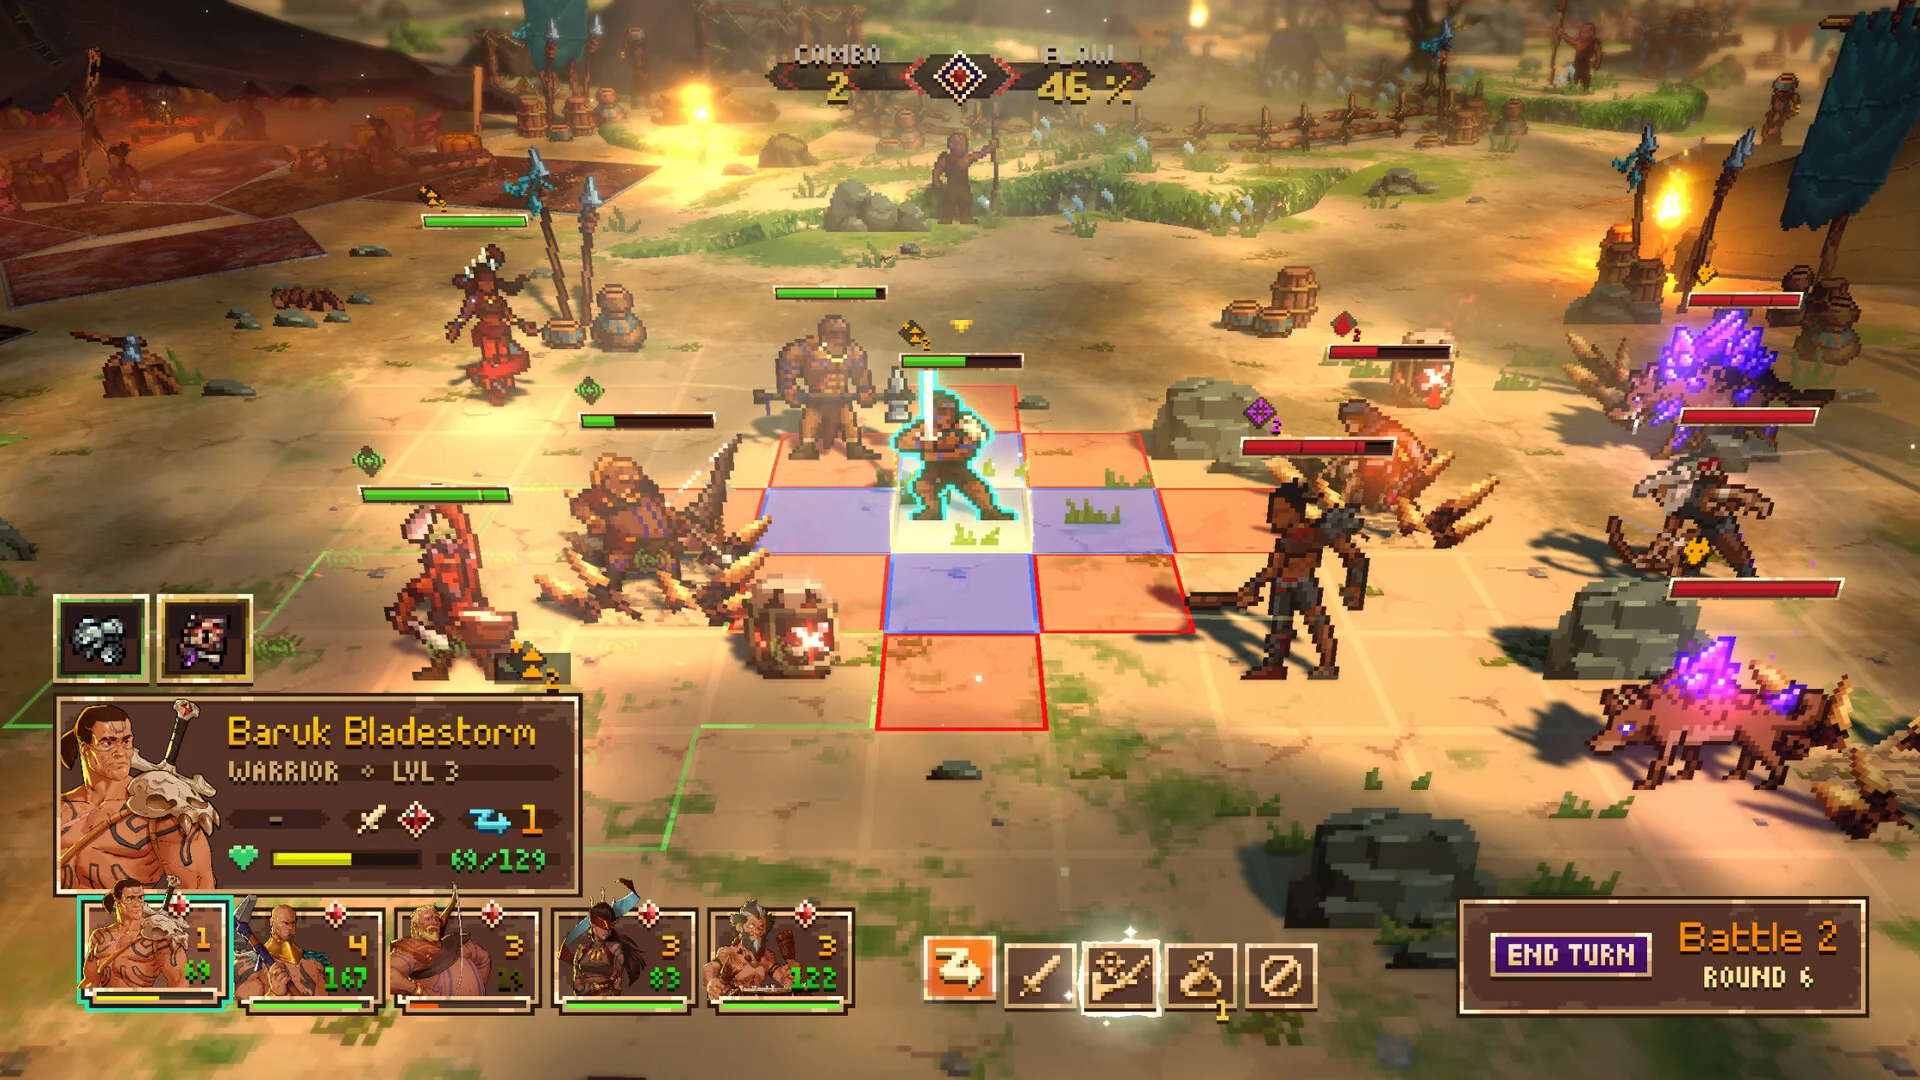
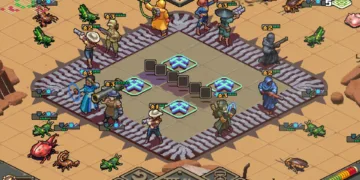
A red desert encounter can send seven charging boars at your four fighters. The charge gives you a reason to care about deployment, and then you have seven health bars to work through. You can accelerate animations and enemy turns, which helps with the waiting. You’ll still play the same sequence each time you call for the same attack.
Calibration and more forgiving timing can make those inputs easier to land, but the game keeps asking for them long after the archer’s draw has become second nature. Once you’ve seen the same enemies across a stretch of fights, you can know exactly how to handle a group and still spend several turns performing the answer.
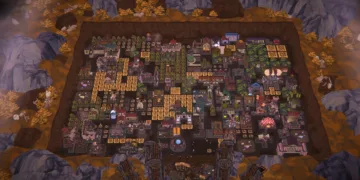
The branching map gives you some control over what your squad can do by the next fight. A route might offer immediate healing, treasure or a fight you’d prefer to avoid. A stop at the Rhythm Forge lets you turn crystals into a custom ability.
Give another fighter a way to heal and you can cover an ally outside Yelder’s field while he stays in position to support the others. Experience earned in battle opens further skills, so a fighter’s job can change over a run according to where you took the party and what you needed from it.
A wipe sends those fighters back to level one. The payout can buy new recruits, better starting options or oases where you can heal and revive allies on future routes. You can even unlock a second item use per turn, leaving room to heal an exposed caster after throwing a grenade. You’ll read the early boards faster once you know the reach of a poison archer or what a spawn warning can buy you. After a boss wipes a squad with two ways to heal, the first Forge on the next map can look a long way off.
The Review
Wardrum
Wardrum is worth learning for the turns where a single missed beat can leave your caster exposed. Once you know the sequences, you can plan around what your fighters can reliably pull off, and the Rhythm Forge gives them new jobs to learn. Crowded fights keep asking for familiar inputs long after you’ve worked out the tactics. A late wipe sends you back to familiar opening fights just as the squad you built was getting interesting.
PROS
- Timing can change who’s still standing when the enemy acts.
- The archer’s animation makes the input sequence easy to learn.
- Heartbeat makes formation matter after the initial heal.
- Nighttime spawn warnings reward planning a turn ahead.
- Rhythm Forge choices can reshape a fighter’s role mid-run.
CONS
- Familiar input patterns wear thin once mastered.
- Outnumbered fights can drag even with faster animations.
- Wipes erase the builds you’ve put together during a run.